Getting Started
Signing In & Creating an Account
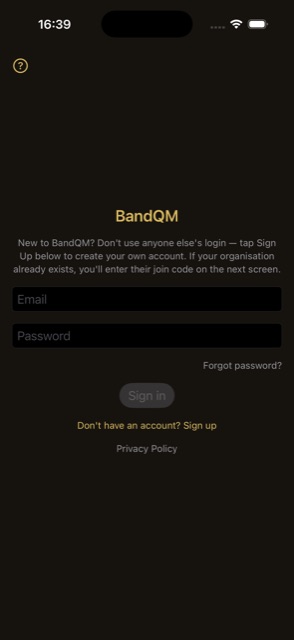
- Sign in — enter the email and password you registered with.
- Sign up — switch to the sign-up form to create a new account with an email, password, and display name. This only creates your login; it doesn't put you in an organisation yet (see below).
- Forgot password? — sends a password-reset email to the address entered.
- Privacy Policy link — opens the app's privacy policy.
Creating a New Organisation
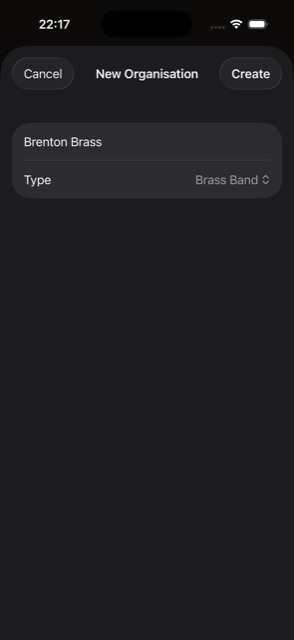
- Organisation Name — the band or ensemble's name.
- Ensemble Type — a picker describing the kind of group (e.g. brass band, wind band).
- Duplicate-name warning — if another organisation already exists with that name, you're warned and offered “Create Anyway” or to join the existing one instead.
- Create — creates the organisation, makes you its first Admin, and seeds a starter set of reference lists (instrument makes/models/types, condition and size scales, missing-part options) so the app isn't empty on day one.
Joining an Organisation with a Code
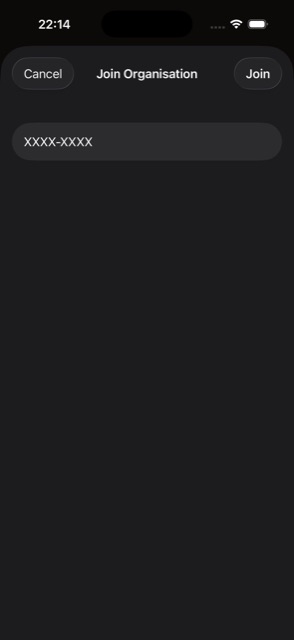
- Join Code field — enter the code your organisation's Admin shared with you. Can also be filled automatically from a tapped invite link, or suggested by iOS's QuickType bar.
- Join — adds you to the organisation as a Read-only member by default; an Admin can raise your access afterwards (see Users & Permissions).
- “Is this you?” match — if your email matches an existing roster entry that isn't yet linked to an account, you're asked to confirm. Yes links your login to that Member record (and its history/assignments); No creates a fresh Member record for you instead.
Face ID Lock
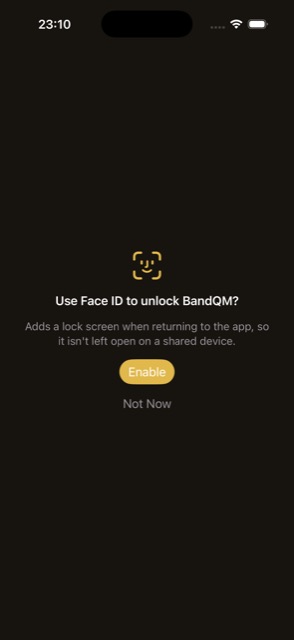
- Enable — turns on Face ID so the app locks itself whenever it returns from the background, requiring your face to unlock it again.
- Not Now — skips this; you can turn it on later from Settings → Security.
- Try Again / Sign Out — options shown on the lock screen itself if Face ID fails to recognise you.
Push Notifications
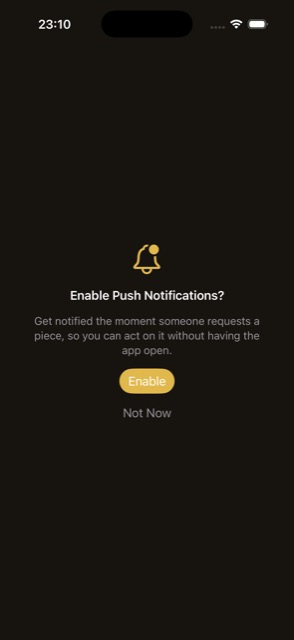
- Enable — turns on notifications, used to alert Librarians/editors when someone requests a piece, and to deep-link straight to the Requests tab when tapped.
- Not Now — skips this; you can't currently re-enable it from within the app, only from the iOS Settings app.
Subscribing to BandQM
Shown instead of the whole app — no Home, no modules — whenever your organisation doesn't have an active subscription: for a brand-new organisation before its first subscription, and again if an existing subscription lapses.
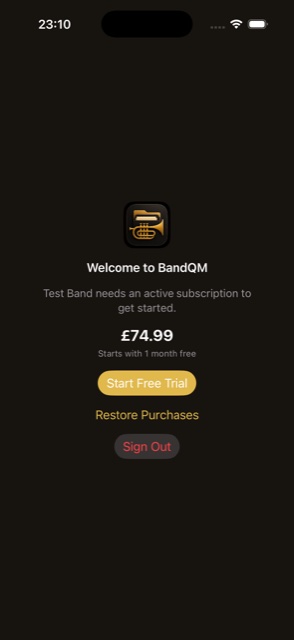
- Start Free Trial / Resubscribe — begins Apple's in-app purchase flow for the organisation's subscription, which includes a free trial period on first subscribing. There's no separate app-side trial — this is the only one. Admin only
- Restore Purchases — re-checks App Store entitlement, e.g. after a reinstall. Admin only
- Anyone who isn't an Admin sees an explanation and is told to ask an organisation Admin to (re)subscribe.
- Sign Out — always available, regardless of role.
- The subscription is organisation-wide — once an Admin subscribes, every member of that organisation gets access, not just the device that purchased it.
- An Admin can check subscription status or restore purchases at any time from Settings → Subscription, without needing to be blocked here first.
The Home Screen
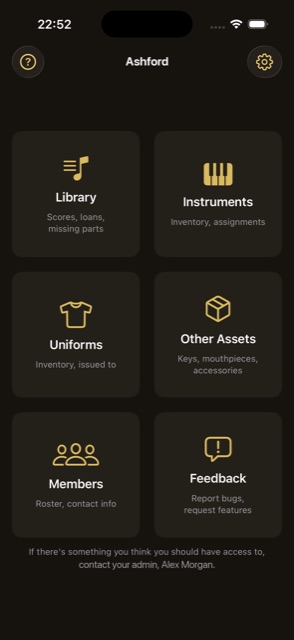
- Module tiles — Library, Instruments, Uniforms, Other Assets, Members, Feedback. All six always show; ones you don't have access to are faded and disabled rather than hidden.
- Gear icon (top right) — opens Settings.
- Header title — shows your organisation's short abbreviation if one has been set (e.g. “RBTB”), otherwise its full name.